Bike Air Filters: Function, Types, and Maintenance
An air filter in a bike plays a crucial role in the engine's performance and longevity by ensuring that clean air enters the combustion chamber. The air filter prevents harmful particles such as dust, dirt, and debris from entering the engine, which could cause damage and reduce efficiency. Here’s a closer look at the importance, types, and maintenance of bike air filters.
Function of Bike Air Filters
Engine Protection: The primary role of an air filter is to protect the engine by filtering out foreign particles from the air before it enters the intake system. Contaminants like dust, sand, and debris can wear out engine parts such as the cylinders, pistons, and valves, leading to costly repairs and reduced engine life.
Fuel Efficiency: A clean air filter ensures that the engine receives a proper air-fuel mixture. If the air filter is clogged, it reduces airflow, which can lead to a richer air-fuel mixture, causing inefficient combustion. This can decrease fuel efficiency and performance.
Optimized Performance: For a bike to perform at its best, the engine needs an optimal amount of clean air. A clogged or dirty air filter restricts airflow, which can result in sluggish acceleration, rough idling, and decreased power.
Environmental Impact: By ensuring that the engine burns fuel more efficiently, a clean air filter helps reduce emissions. This is essential for meeting environmental standards and keeping your bike eco-friendly.
Types of Bike Air Filters
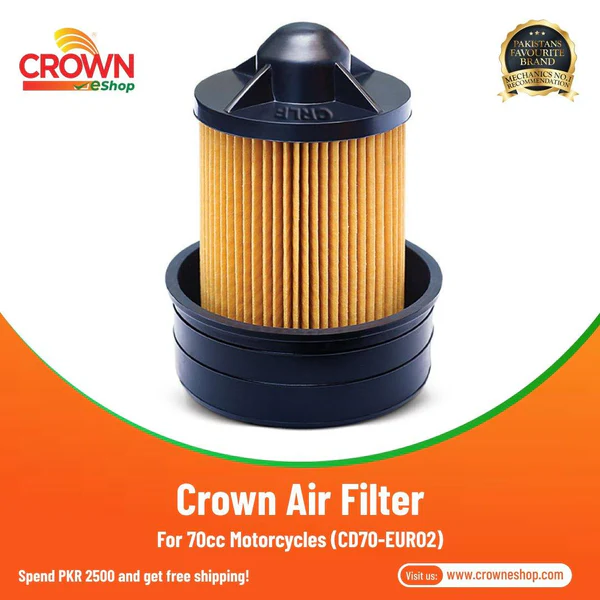
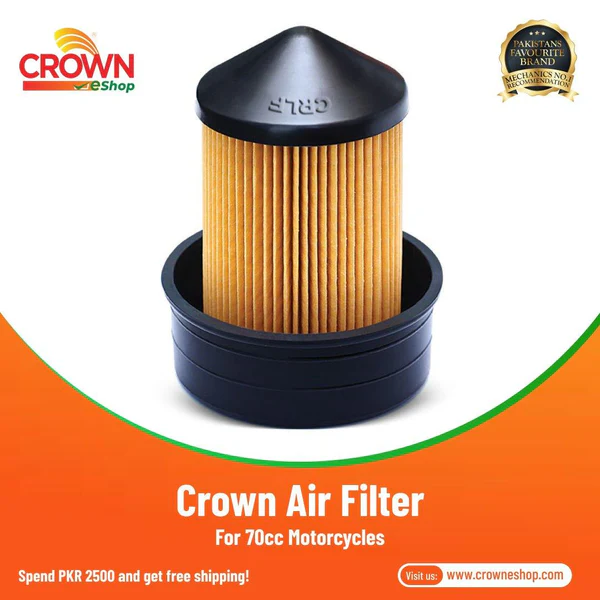
Paper Air Filters:
- Commonly used: These are the most common type of air filter used in motorcycles and scooters. They are made of pleated paper that traps dust and particles.
- Cost-effective: Paper filters are inexpensive and widely available.
- Disposable: Once clogged, they need to be replaced entirely.
Foam Air Filters:
- Reusable: Foam filters are usually made of a special foam material and can be cleaned and re-oiled to extend their lifespan.
- Better filtration: They offer more filtration for larger particles and are especially useful in off-road conditions.
- Maintenance: They require regular cleaning and re-oiling to maintain their effectiveness.
Cotton Gauze Air Filters:
- High performance: Cotton gauze filters, often oiled, provide a high flow of air while still filtering out contaminants.
- Reusable: Like foam filters, they are reusable and can be cleaned and re-oiled for continued use.
- High airflow: They are typically used in performance bikes and can provide better airflow than paper or foam filters.
K&N Filters:
- Popular brand: K&N filters are a type of cotton gauze filter that are known for high performance, especially in high-performance or racing motorcycles.
- Lifetime warranty: These filters come with a lifetime warranty as long as they are maintained properly.
- Enhanced airflow: They are designed to provide more airflow, which is crucial for high-performance engines.
Signs of a Dirty Air Filter
- Reduced Engine Power: A noticeable decrease in acceleration and overall power.
- Poor Fuel Economy: Increased fuel consumption due to the engine running rich with fuel.
- Rough Idling: The engine may idle erratically if the filter is clogged.
- Stalling: The bike may stall or hesitate during acceleration.
- Check Engine Light: In some cases, modern bikes with sensors may trigger a check engine light if the air filter is obstructing airflow.
Maintaining Your Bike's Air Filter
Regular Inspection: Inspect the air filter regularly, especially if you ride in dusty or off-road conditions. Check for dirt, debris, and wear.
Cleaning: Depending on the type of air filter, cleaning can be done every 5,000 to 10,000 kilometers or more frequently in harsh conditions. Foam and cotton gauze filters can be cleaned and re-oiled, while paper filters typically need replacing when dirty.
Replacement: If the filter is damaged, excessively dirty, or unable to be cleaned properly, replace it. A dirty filter can severely hinder engine performance, leading to long-term damage.
Use the Right Filter: Always replace your air filter with the manufacturer’s recommended type. Using the wrong filter can lead to poor filtration or poor engine performance.
Conclusion
The air filter is an essential part of maintaining your bike’s engine health, efficiency, and performance. A clean, well-maintained air filter ensures optimal airflow, preventing contaminants from damaging the engine and improving fuel efficiency. By regularly inspecting, cleaning, and replacing the air filter when needed, you can extend your bike’s lifespan, maintain performance, and enjoy smoother, more efficient rides.